
Introduction
Thinking about ditching that old countertop for something sleeker and newer? You’re not alone. Whether it’s part of a full-blown kitchen renovation or just sprucing things up, Countertop Removal & Disposal is a key step.
But here’s the kicker: getting rid of a countertop isn’t as simple as yanking it off and tossing it to the curb. From safety gear to local waste disposal rules, there’s more to it than meets the eye. Professional countertop removal helps ensure materials are handled safely and reduces the risk of damage to cabinets, walls, plumbing, and surrounding surfaces.
Let’s break it down.
Reasons for Countertop Removal
Renovating or Upgrading the Kitchen/Bathroom
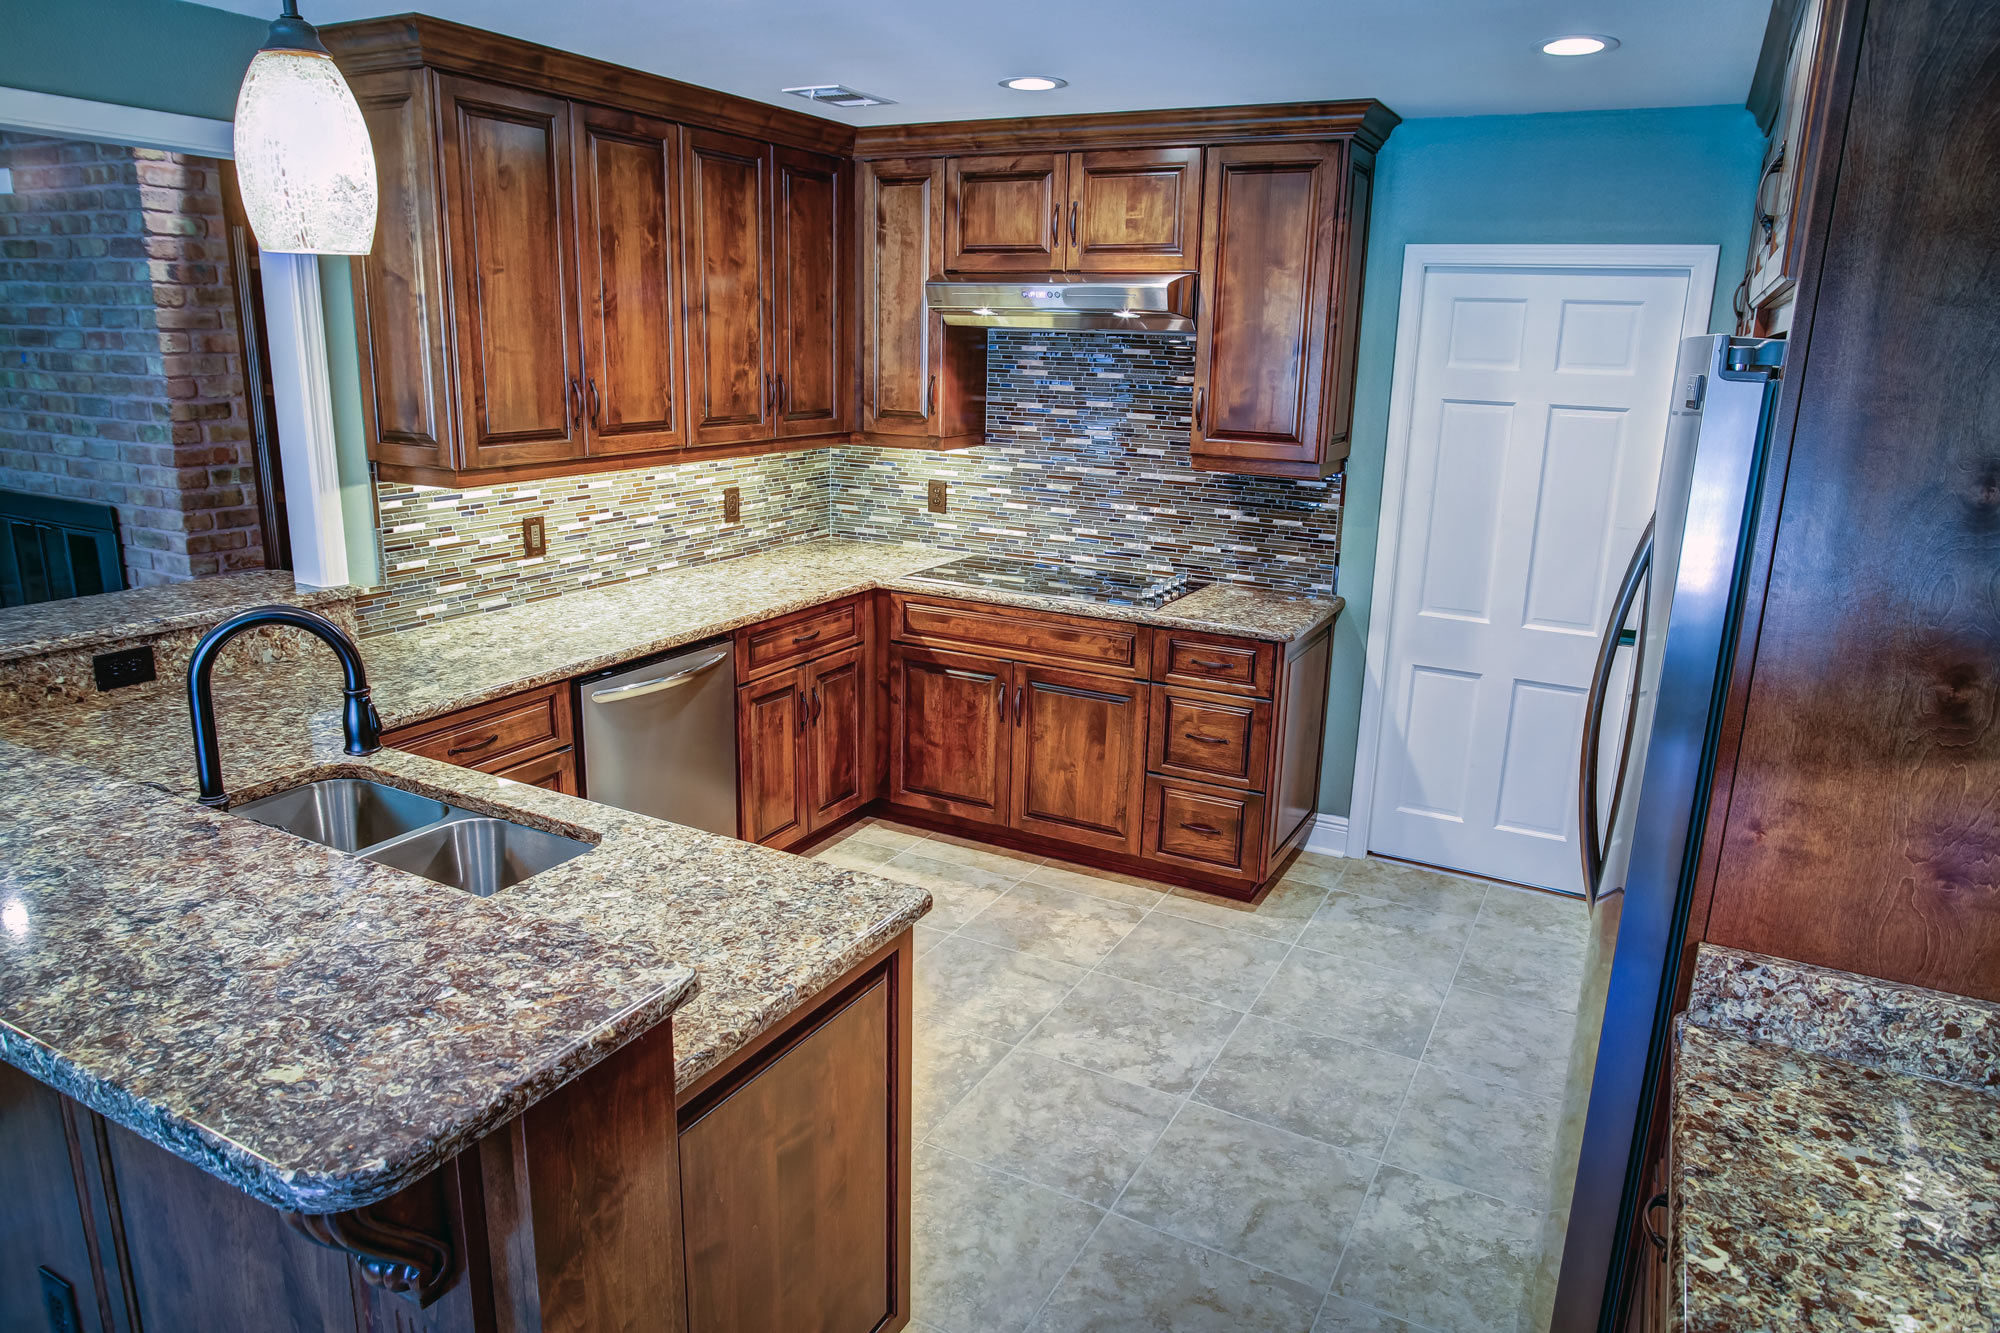
If your kitchen or bathroom looks outdated, it might be time for a makeover. Old countertops can make the whole space feel tired. Replacing them gives your room a fresh, modern look.
Damaged or Outdated Countertops
Over time, countertops get worn out. Cracks, stains, and burns not only look bad but can also be unsafe. When repairs no longer work, it’s best to replace them.
Real Estate Prep — Boosting Resale Appeal
If you’re selling your home, new countertops can make a big difference. Buyers love clean, stylish kitchens and bathrooms. A small upgrade can help you sell faster—and for more money.
Proper Disposal Methods
Eco-Friendly Disposal Options
Professional countertop removal companies can help determine whether materials can be recycled, repurposed, donated, or properly disposed of according to local regulations.
Even better, check with local donation centers or Habitat for Humanity. Someone might want your old countertop especially if it’s still in good shape.
Local Waste Regulations and Drop-Off Sites
You can’t just toss your countertop on the curb. Every city has different rules about waste disposal. Call your local waste management or visit their website to find out where and how to drop it off legally.
When to Use Dumpster or Haul-Away Services
If your countertop is huge—like granite or quartzite—it might be too heavy or bulky for normal trash pickup. In that case, renting a dumpster or hiring a haul-away service is easier. If you choose the right service, you can save time, avoid damage, and still keep things eco-friendly.
Common Mistakes to Avoid
- Hiring inexperienced contractors
- Attempting to remove heavy stone countertops without proper equipment
- Failing to plan countertop replacement before removal
- Not verifying disposal requirements for old materials
- Choosing removal services without experience handling natural stone
When Should You Hire a Professional?
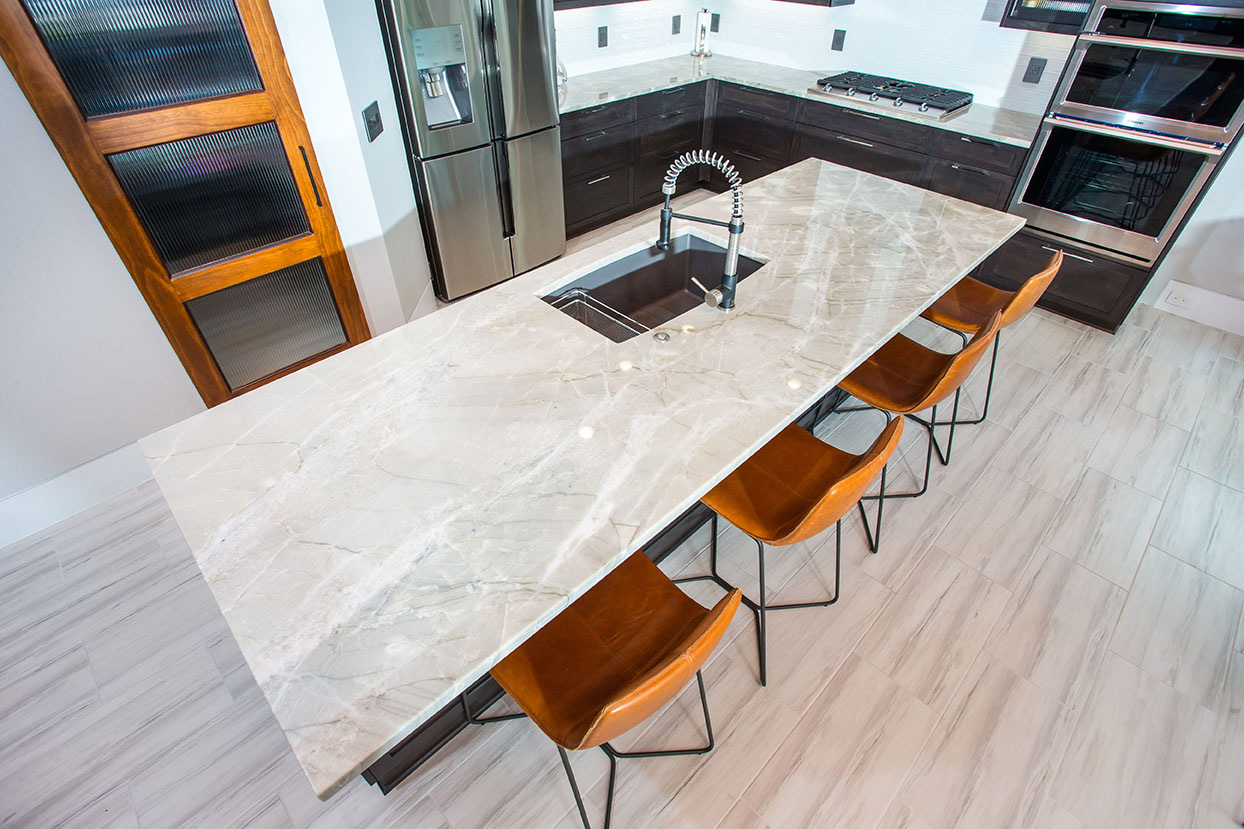
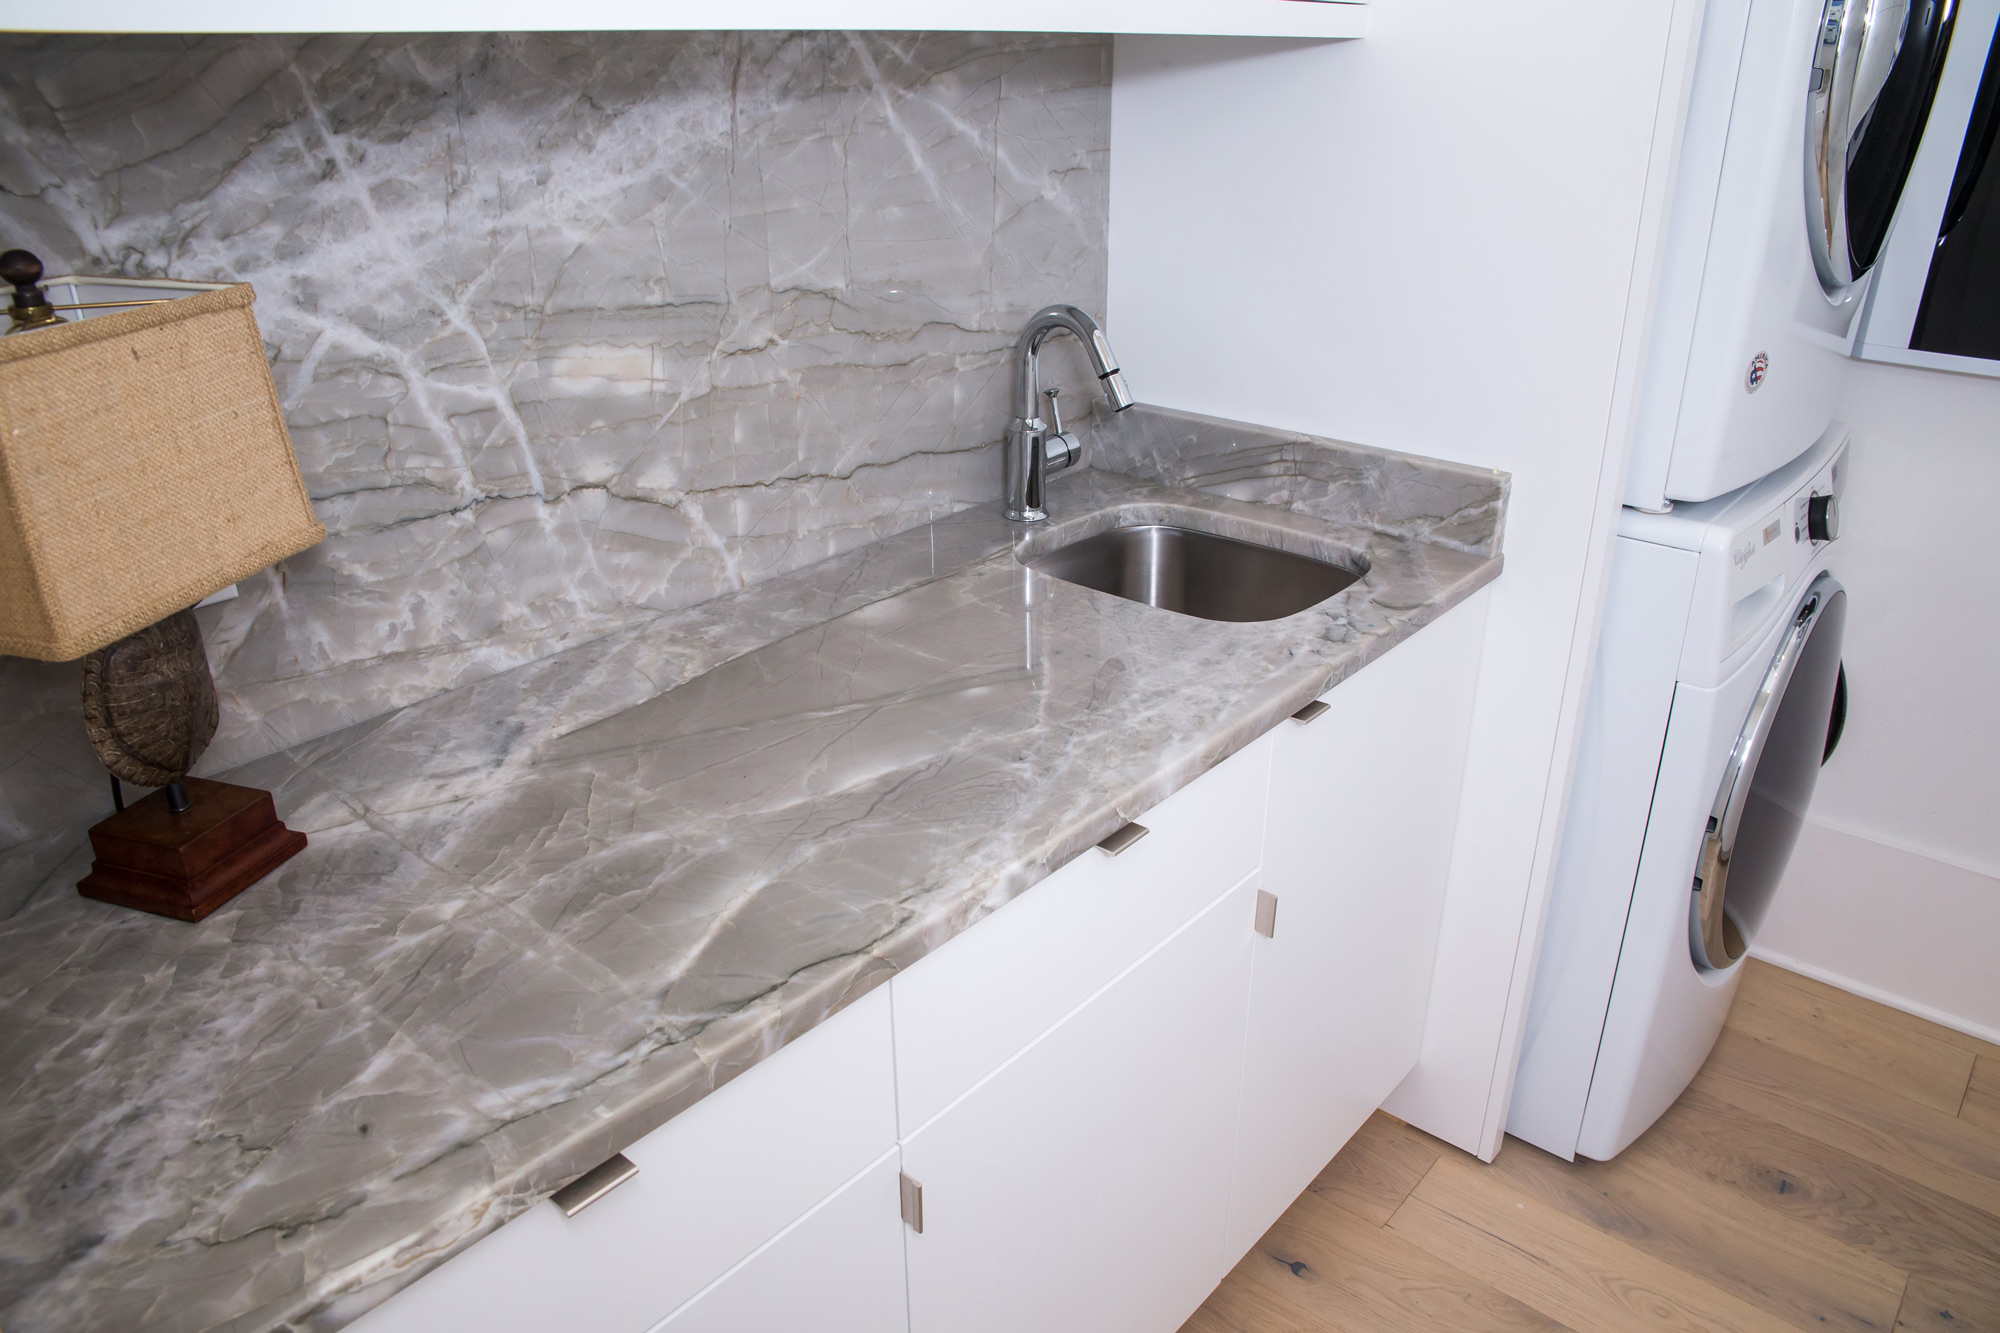
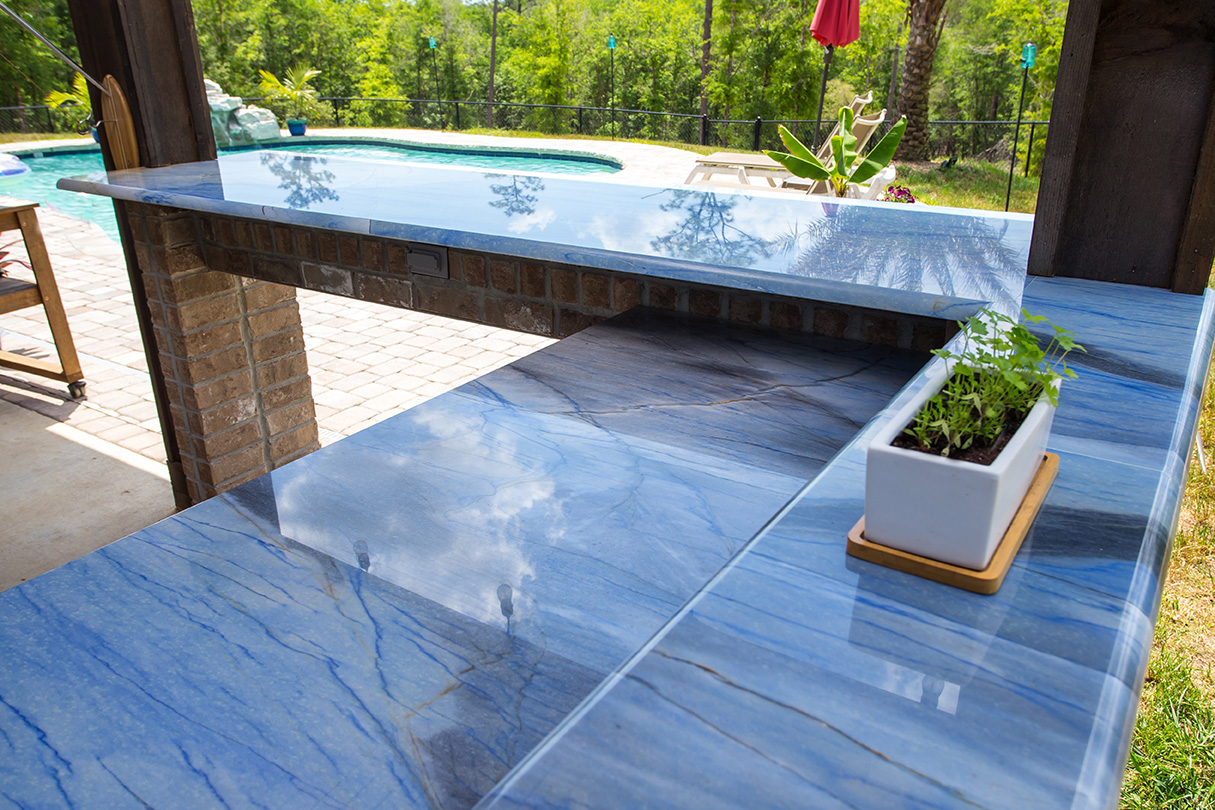
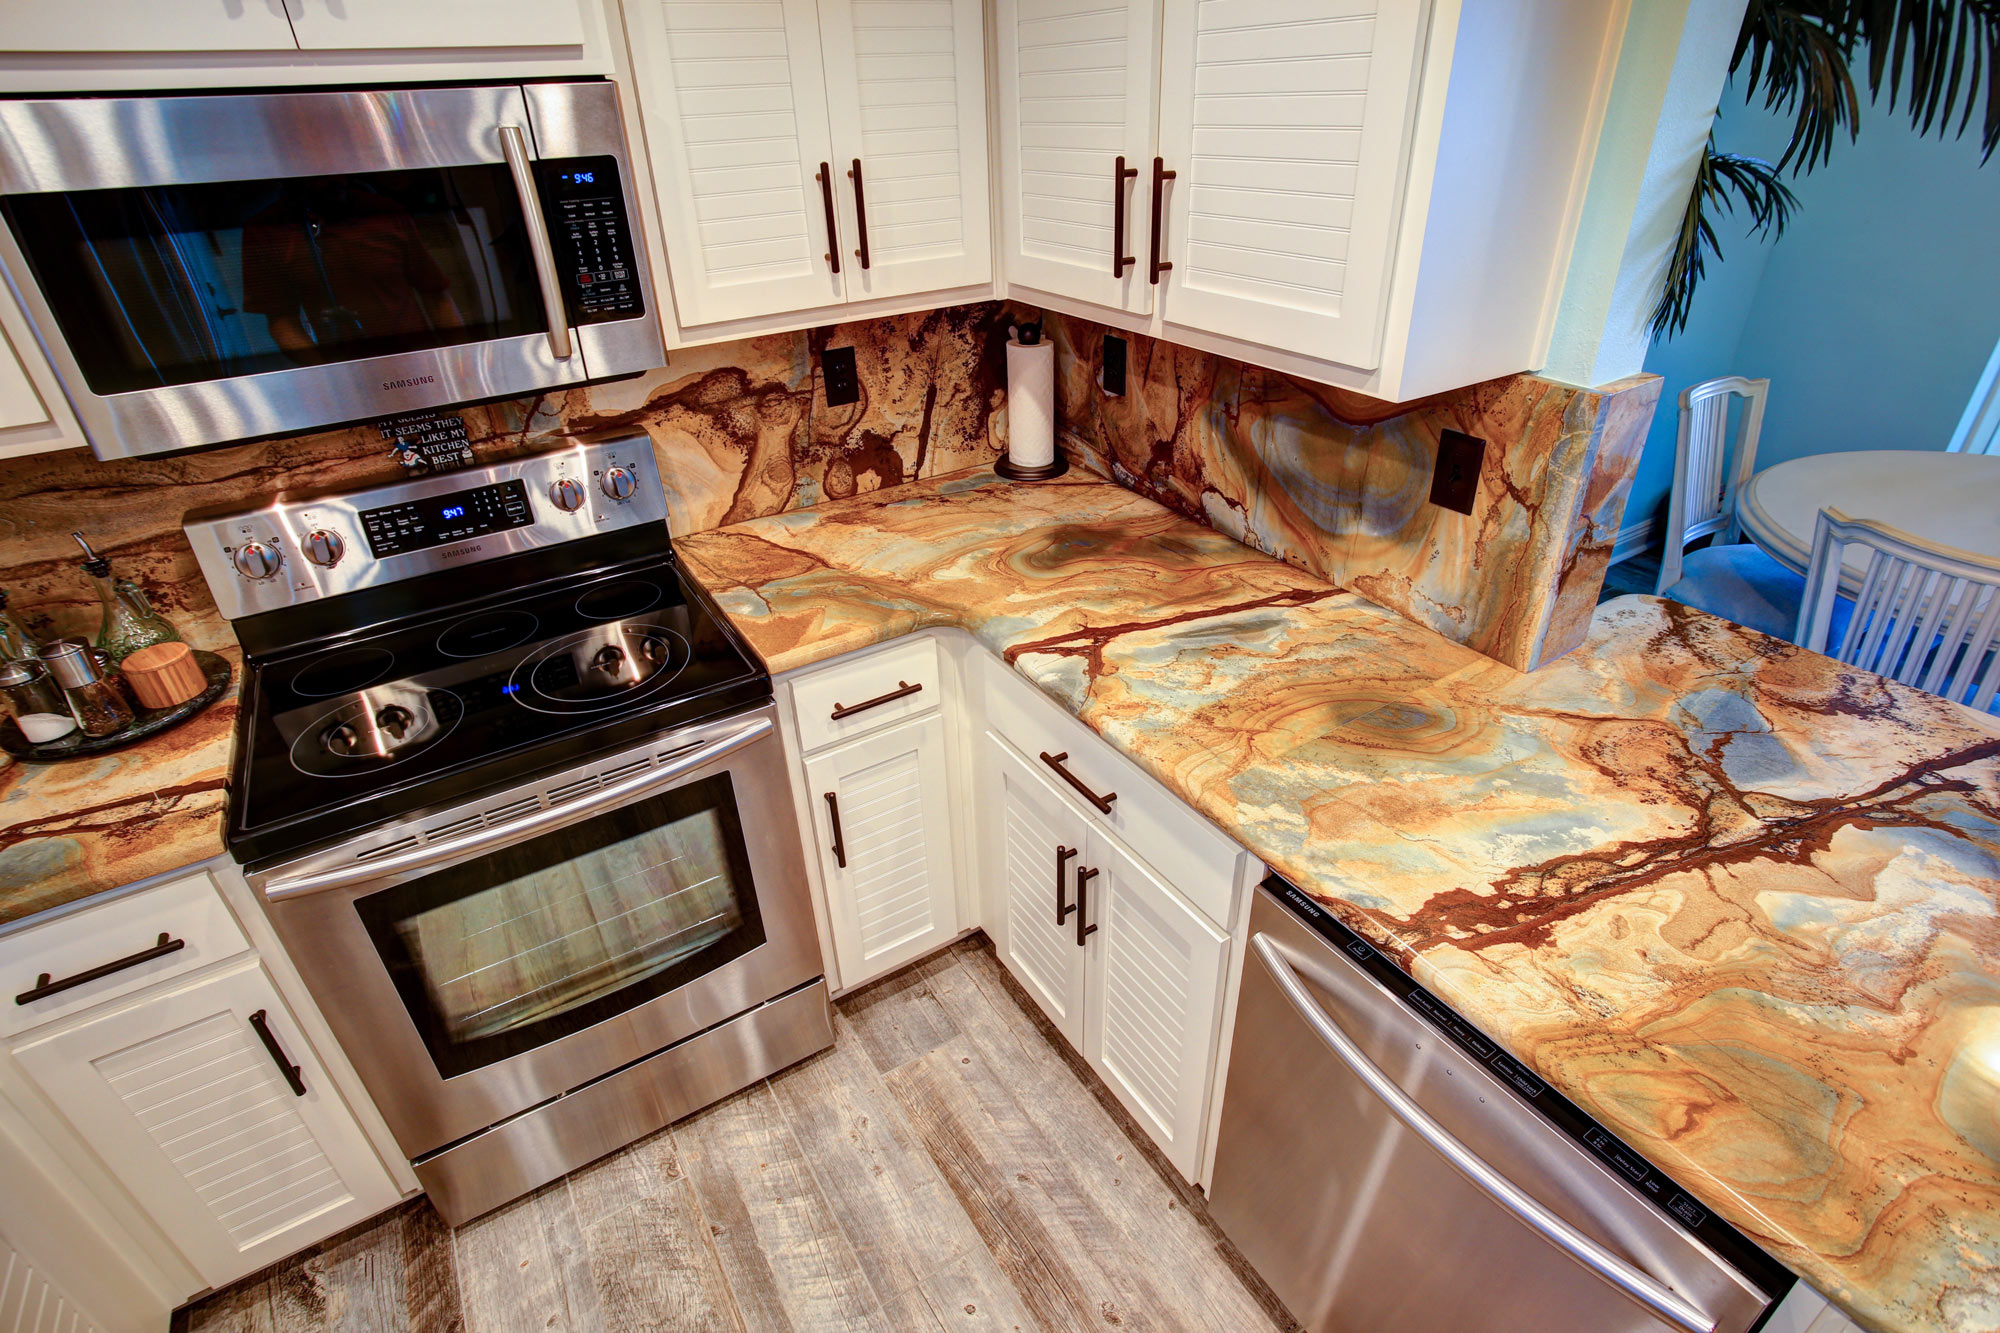
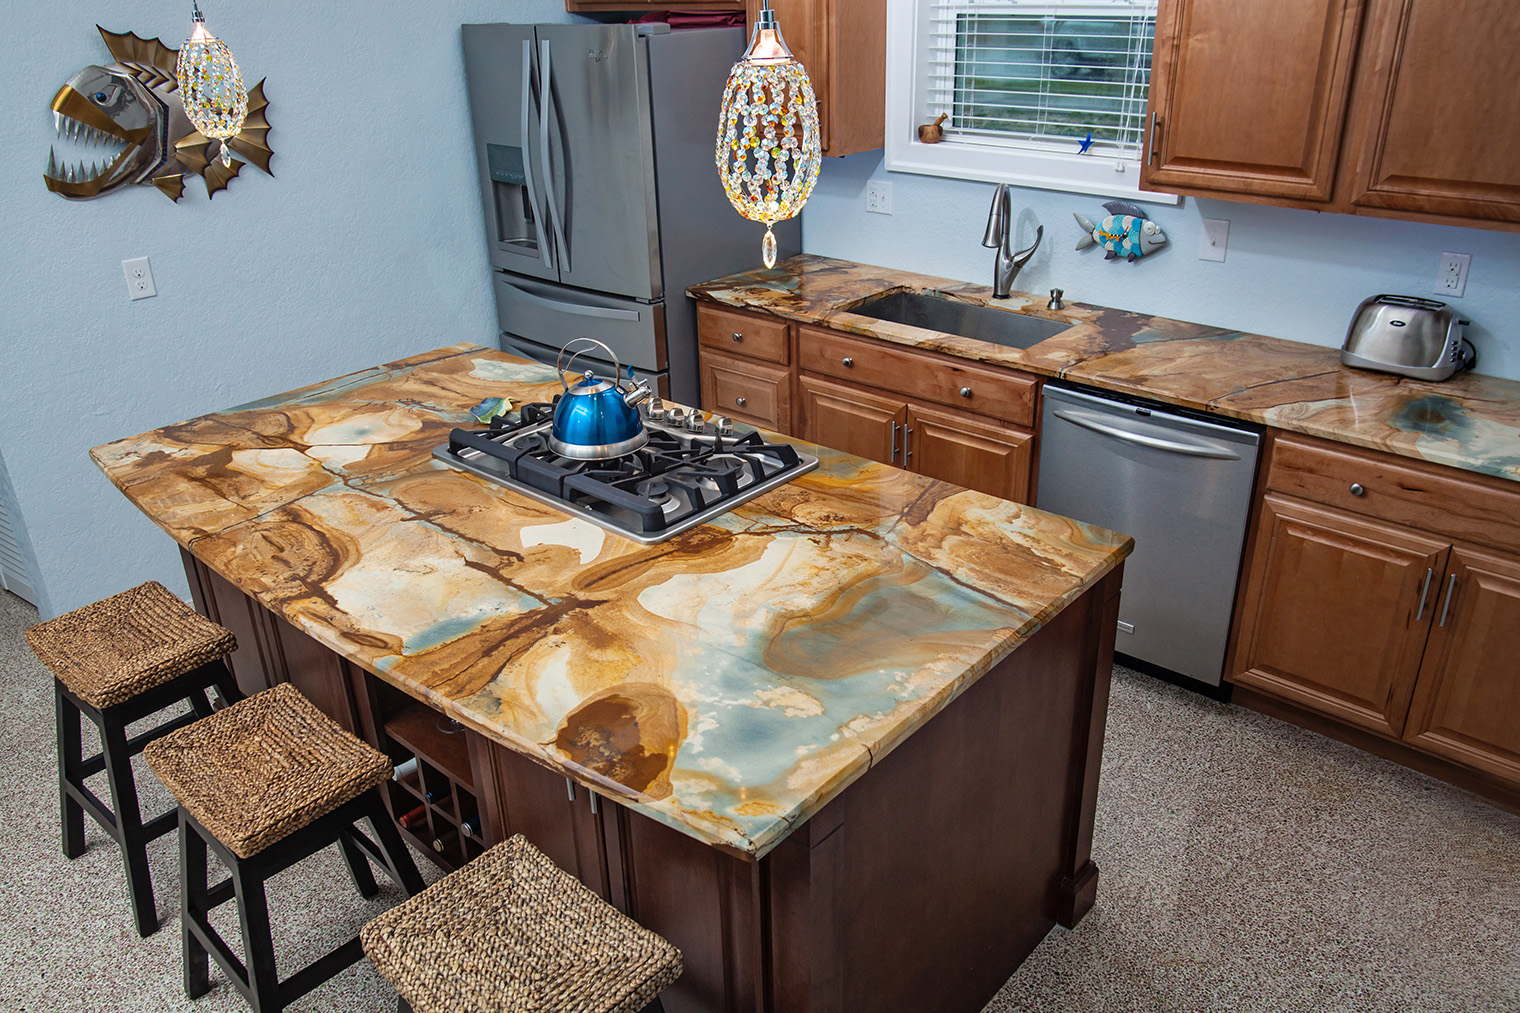
Heavy Materials Like Granite or Quartzite
Trying to DIY granite or quartzite countertops? Good luck lifting those monsters. Time to call a professional removal service.
Lack of Proper Tools or Experience
No power drill? Never held a pry bar? If that sounds like you, it’s safer and smarter to hire pros.
Time Constraints or Complex Layouts
Tight on time or dealing with tricky corners? Bring in the experts. Superior Granite offers full-service countertop removal & disposal across Pensacola, Pace, and Fort Walton Beach.
Cost Considerations
DIY Cost Breakdown (Tools, Time, Disposal Fees)
Countertop removal costs vary depending on the material being removed, project size, removal complexity, disposal requirements, and installation preparation needs. Contact Superior Granite for project-specific pricing and recommendations.
Professional Service Cost Range
Hiring a pro, like Superior Granite, could cost $300-$800. But that often includes fabrication, templating, and installation prep.
In other words, fewer headaches for you.
Conclusion
So, what’s the verdict?
Because countertop materials can be heavy and difficult to handle, professional countertop removal is often the safest and most efficient option. Experienced teams can help protect cabinets, walls, plumbing, and surrounding finishes while preparing the space for new countertop installation. But if you’re working with stone or want the job done fast and right, hiring a professional removal service is worth every penny.
Need help in Pensacola, Pace, or Fort Walton Beach? Reach out to Superior Granite they’ll handle everything from demolition to countertop installation.
FAQs
Can I remove my countertop without damaging the cabinets?
Professional countertop removal is recommended, especially for natural stone materials. Experienced technicians have the proper equipment and training to help prevent damage during removal.
What’s the safest way to dispose of stone countertops?
Recycling or donating is ideal. Otherwise, use a haul-away service or check local waste regulations.
How long does countertop removal usually take?
Removal timelines vary depending on the material, project size, and installation complexity. Professional contractors can provide a more accurate estimate after evaluating the project.


