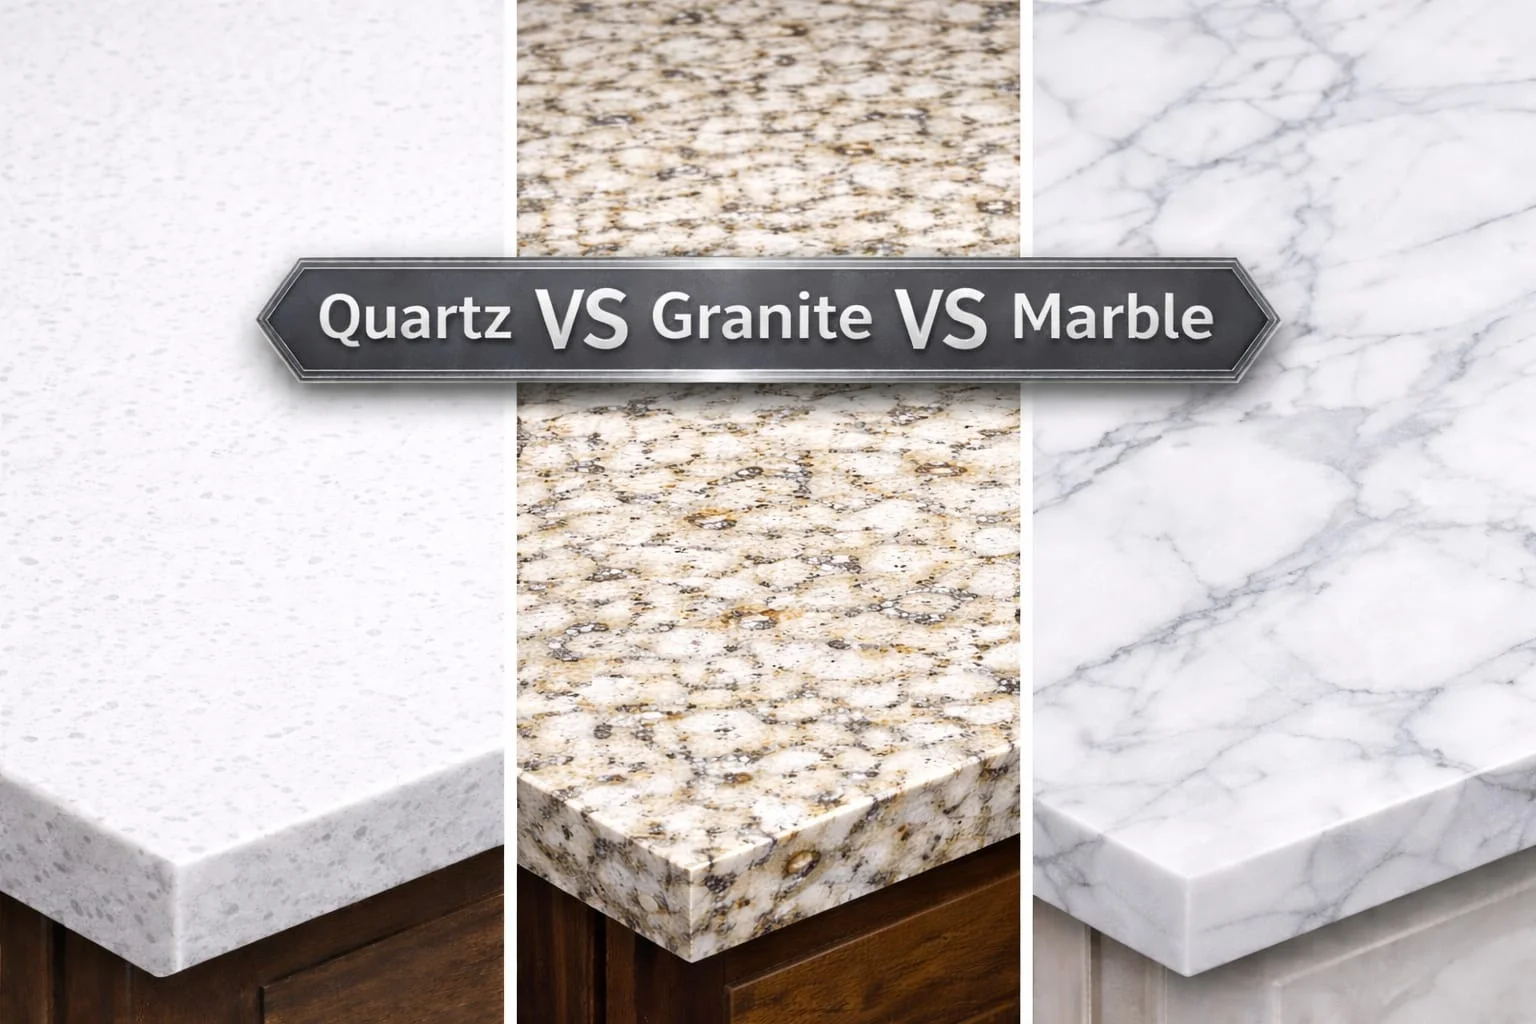
Stone countertops add elegance and durability to any kitchen or bathroom, but minor chips and scratches can occur over time due to regular use. While deep cracks or significant damage may require professional stone restoration, you can fix small imperfections yourself with the right tools and techniques. This guide will walk you through step-by-step instructions on repairing minor chips and scratches on granite, quartz, and marble countertops.
Understanding the Damage: Chips vs. Scratches
Before diving into the repair process, it’s essential to identify the type of damage your stone countertop has.
- Chips: Small missing pieces on the surface, usually caused by dropped objects or impacts.
- Scratches: Fine lines or marks often resulting from sliding heavy objects, using harsh cleaning tools, or prolonged wear.
Knowing whether you’re dealing with a chip or a scratch helps determine the best repair method.
Tools and Materials Needed
Before you start the repair, gather the following materials:
For Fixing Chips:
- Clear epoxy resin or stone repair kit (designed for your specific stone type)
- Razor blade or putty knife
- Fine-grit sandpaper (600-1200 grit)
- Polishing compound
- Soft cloth
For Fixing Scratches:
- Stone polishing powder or buffing compound
- Water and microfiber cloth
- Fine steel wool (0000 grade) for deeper scratches
- Granite or marble sealant
How to Repair Chips on a Stone Countertop
Step 1: Clean the Surface
Start by cleaning the chipped area with warm water and mild dish soap. Use a soft cloth to remove any dirt or debris. Let it dry completely before proceeding.
Step 2: Apply the Epoxy Filler
Using a clear epoxy resin or a stone repair kit, fill the chipped area carefully. Ensure that the filler slightly overflows to match the countertop’s level once dried. Follow the instructions on your repair kit regarding drying time.
Step 3: Level the Surface
Once the epoxy has hardened, use a razor blade or putty knife to gently scrape off excess material. Be careful not to damage the surrounding stone.
Step 4: Sand the Area Smooth
Use fine-grit sandpaper (600-1200 grit) to smooth the repaired spot. Sand lightly until it blends with the surrounding surface.
Step 5: Polish and Seal
Apply a stone polishing compound and buff the area with a soft cloth until it regains its shine. If needed, apply a granite or marble sealant to protect the repair and enhance durability.
How to Repair Scratches on a Stone Countertop
Step 1: Clean the Scratched Area
Wipe down the surface with warm water and mild soap to remove dust and debris. Dry thoroughly with a microfiber cloth.
Step 2: Buff Out Minor Scratches
For light scratches, apply a stone polishing powder mixed with water and rub in circular motions with a soft cloth until the scratch fades.
Step 3: Use Steel Wool for Deeper Scratches
For slightly deeper scratches, use 0000-grade fine steel wool to gently buff the area. Avoid pressing too hard, as excessive pressure may cause additional damage.
Step 4: Apply a Polishing Compound
After buffing, apply a stone polishing compound and rub it in with a microfiber cloth. This will help restore the stone’s natural luster.
Step 5: Seal the Countertop
To prevent further damage, apply a high-quality granite or marble sealant. Sealing creates a protective layer that helps maintain the stone’s shine and durability.
Preventing Future Damage
To keep your granite, quartz, or marble countertops in pristine condition, follow these preventive measures:
- Use cutting boards instead of chopping directly on the surface.
- Avoid dragging heavy objects across the countertop.
- Use coasters and trivets for hot items and beverages.
- Clean spills immediately to prevent stains and etching.
- Avoid harsh cleaners like vinegar or bleach that can weaken the stone’s finish.
When to Call a Professional
While these DIY stone repair techniques work for minor chips and scratches, deeper cracks, large missing chunks, or extensive wear may require professional stone restoration services. If you’re unsure about repairing the damage yourself, consult a countertop repair expert for the best results.
Conclusion
Fixing small chips and scratches on your stone countertop is easier than you think. With the right epoxy fillers, polishing compounds, and sealants, you can restore the beauty of your granite, quartz, or marble surfaces at home. By following these step-by-step repair techniques and practicing proper countertop maintenance, your stone countertops will stay stunning and durable for years to come.
For professional stone restoration services or high-quality repair kits, contact Superior Granite today!


